tutorial Introduction
Level: Advanced
Design time: 30 min
The purpose of this Sketch tutorial is to introduce you to the variety of awesome features Sketch has to offer, by working on a real life example.
In this tutorial I will take you from beginning to end on getting up and running with Sketch design. I will try to be as thorough as possible, showing you different techniques that are unique to Sketch to achieve this detailed icon.
I would be happy to see what you end up doing with your new knowledge. Don’t hesitate to send me the links in the comment section of the designs you created based on this tutorial. The goal for me is to give you the tools and help you get inspired so you can create your own custom designs.
Please share in the comment section and get feedback. I will publish a best of here!
Let’s get started!
1 – Create an artboard in sketch
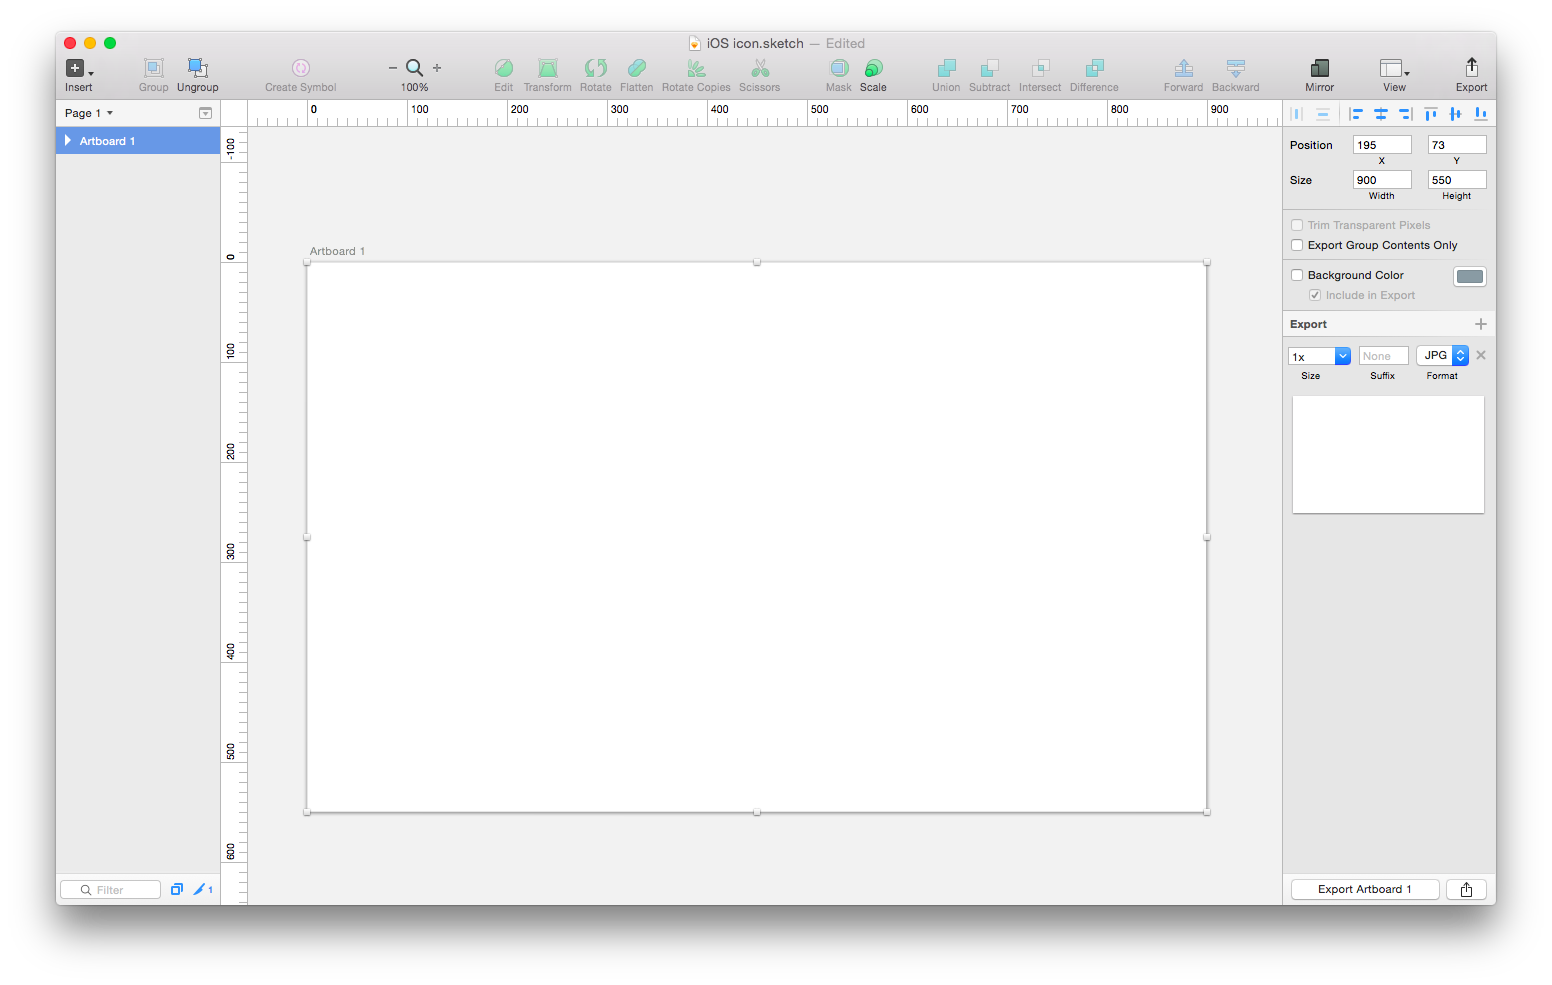
Open Sketch.
Press (A) and draw an Artboard of 900×550 pixels.
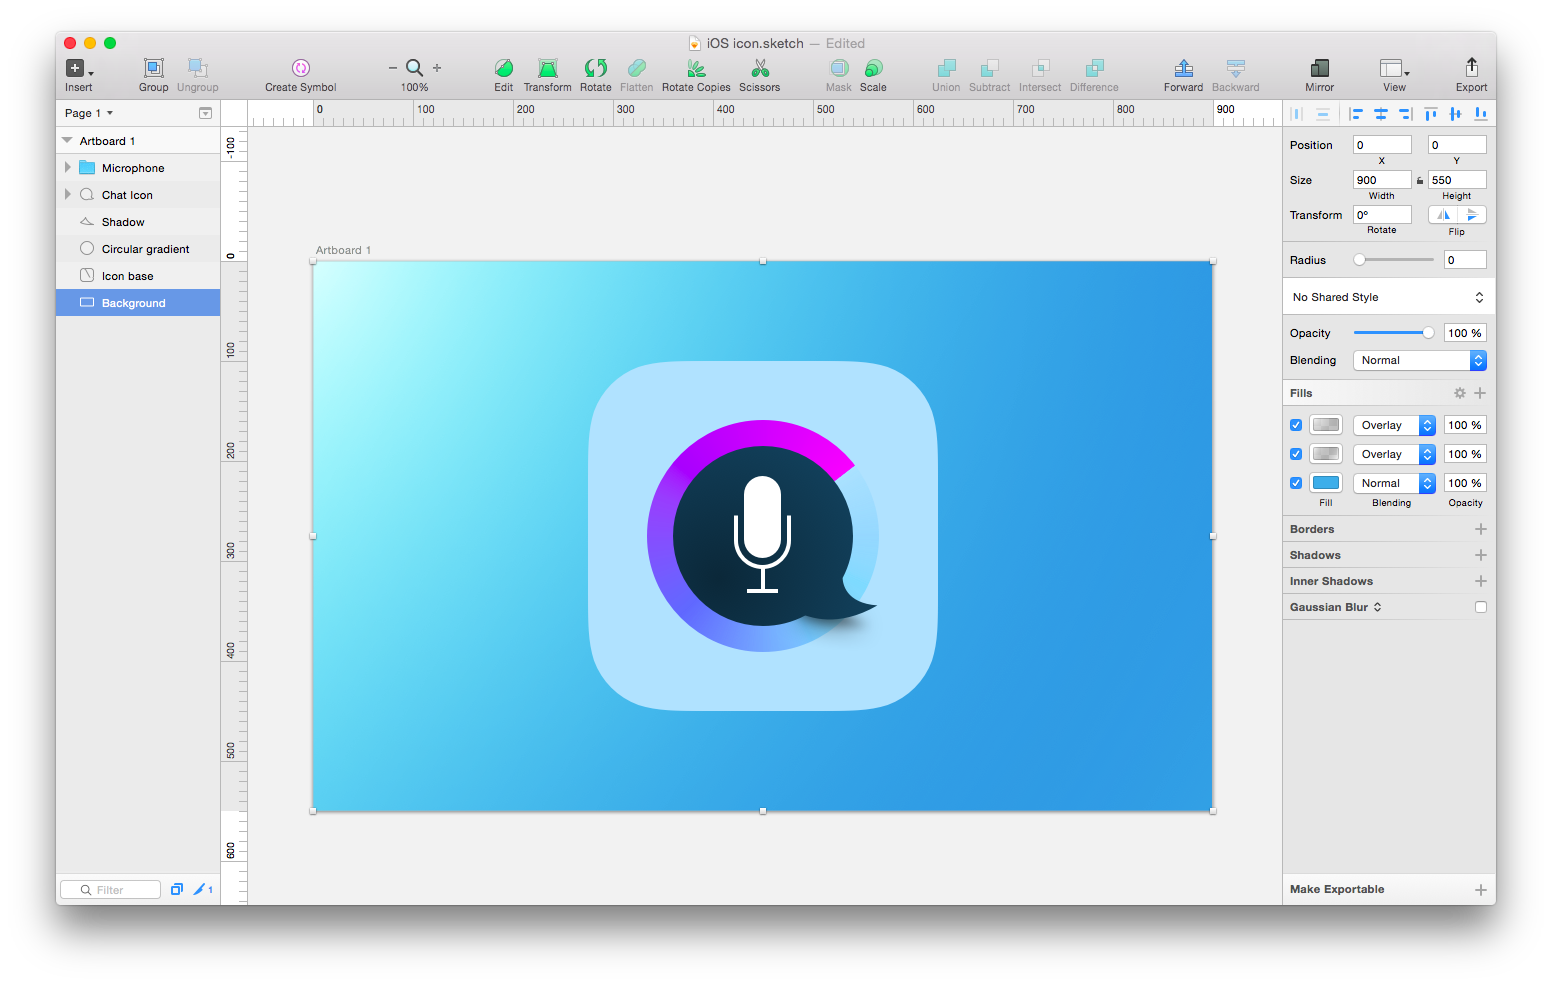
2 – Apply a sky blue background
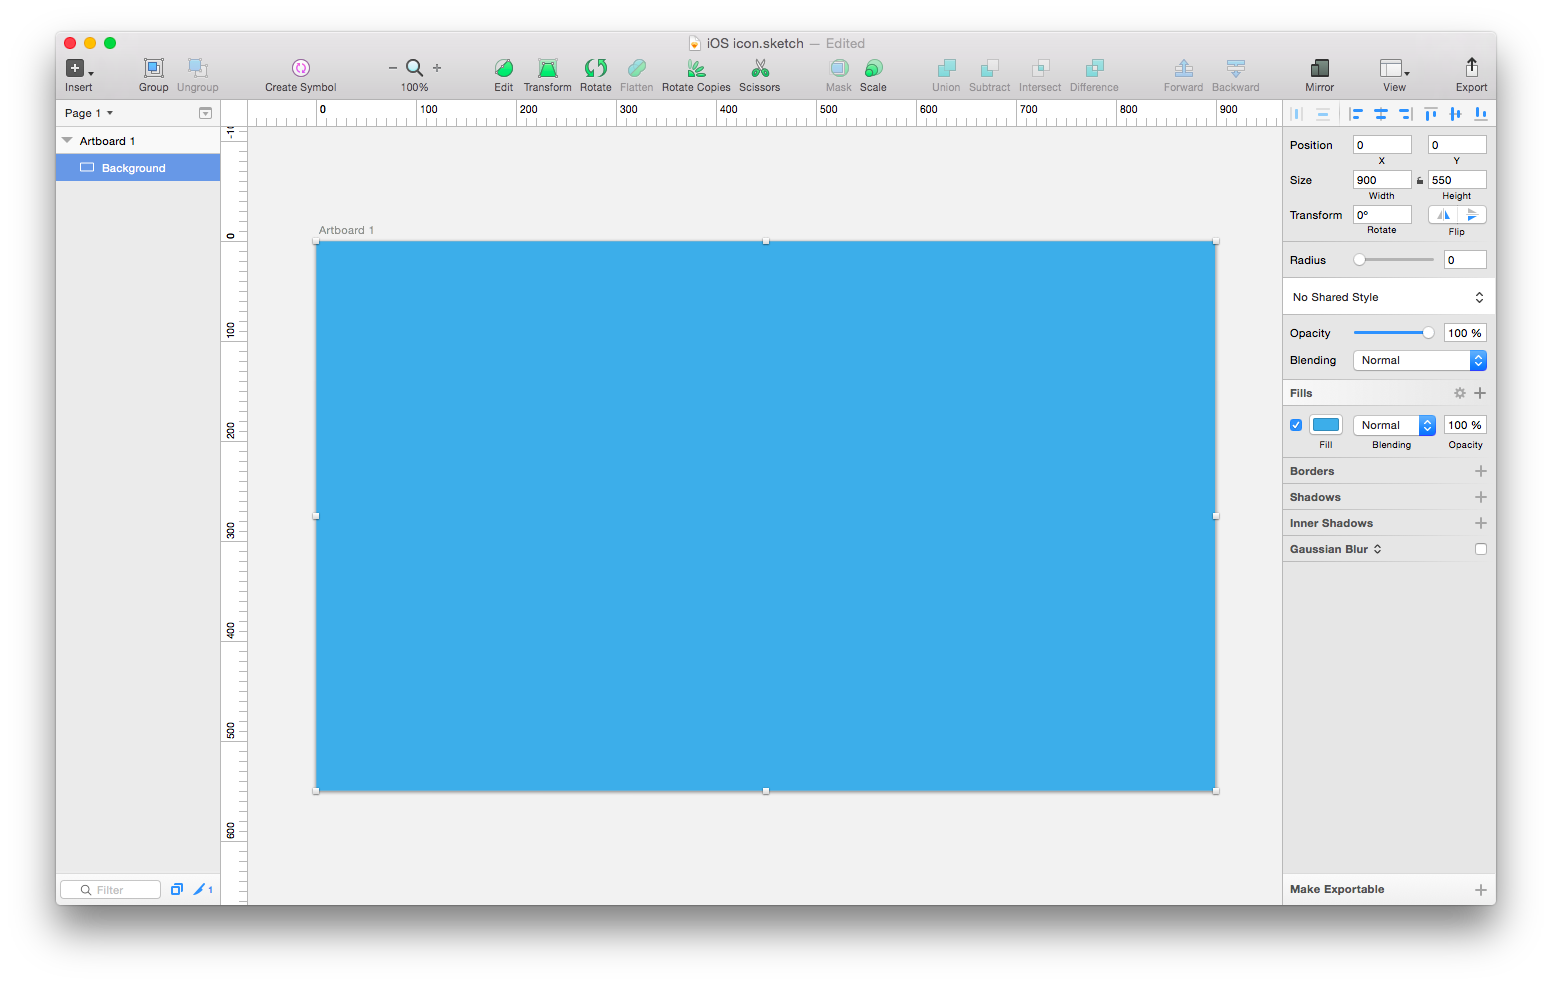
Draw a rectangle, press (R) and fill up the entire artboard. Rename it “Background”. Uncheck the borders, go to (Edit > Set Style as Default) so every time you create a shape you don’t have to delete the borders by default.
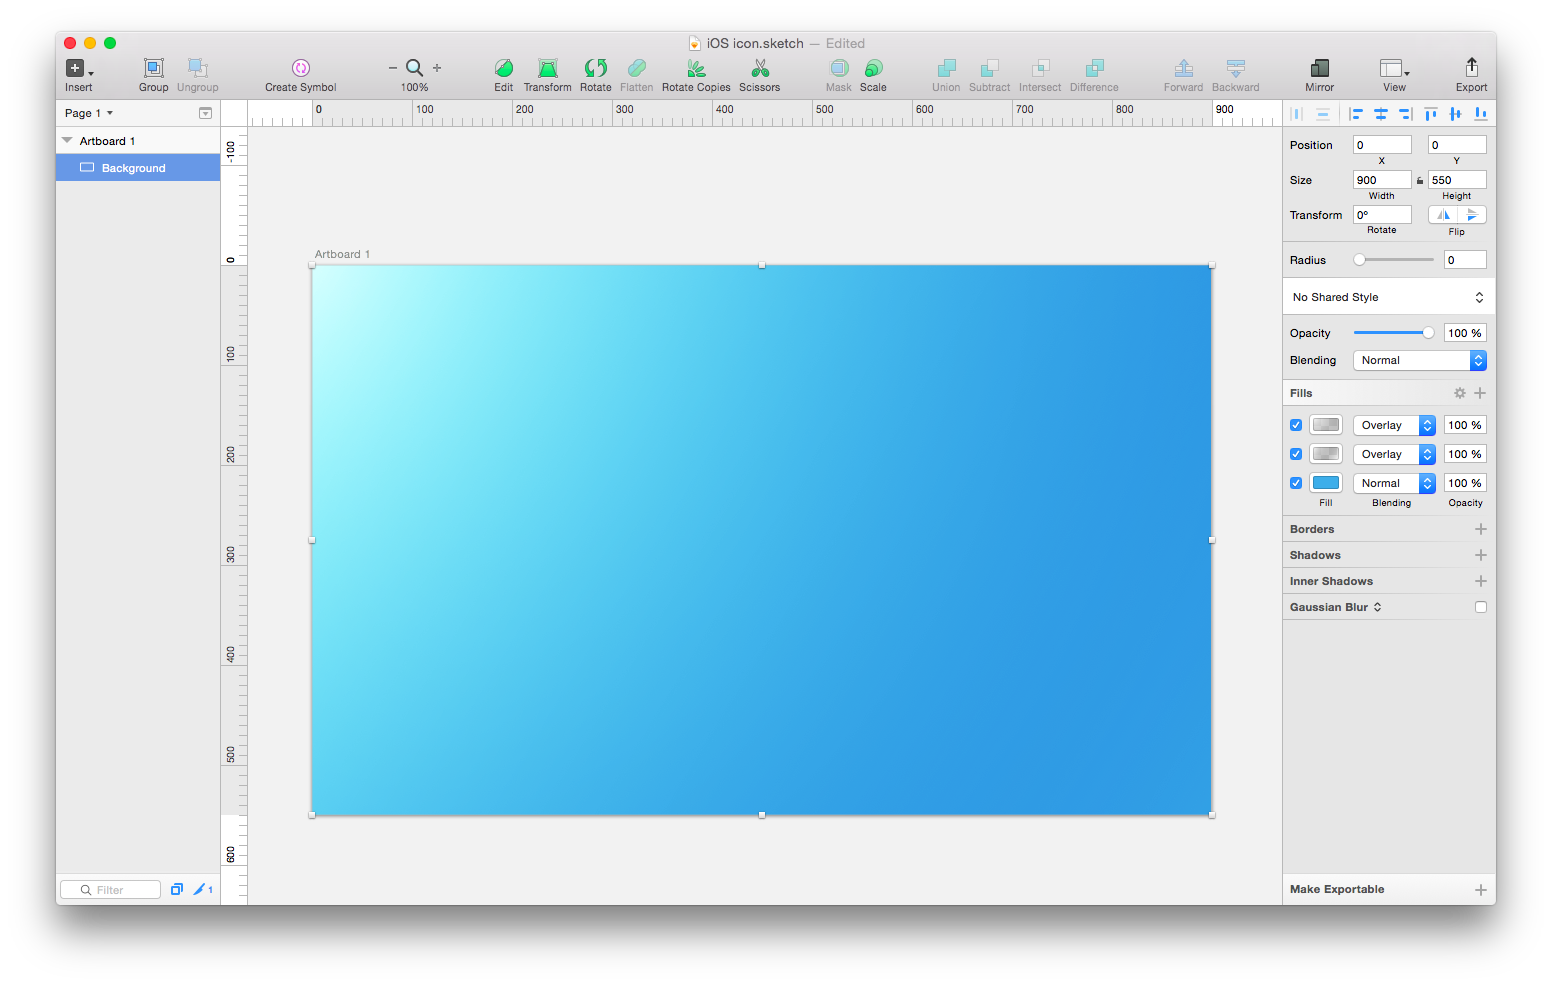
Now we are going to mimic a sky effect. First let’s create blue fill. Type in the Hex value #3CAEEA.
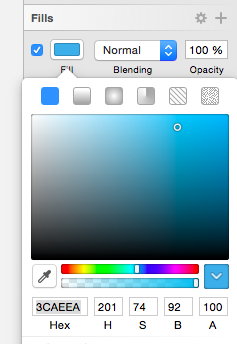
This is what it looks like now.
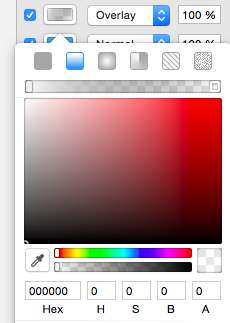
The light is coming from the top left corner. We are going to create 2 new transparents fill on top of this one. Click on the “+” icon on the fill panel. Select the linear gradient and draw your gradient from the top left corner to the bottom right corner of your artboard.
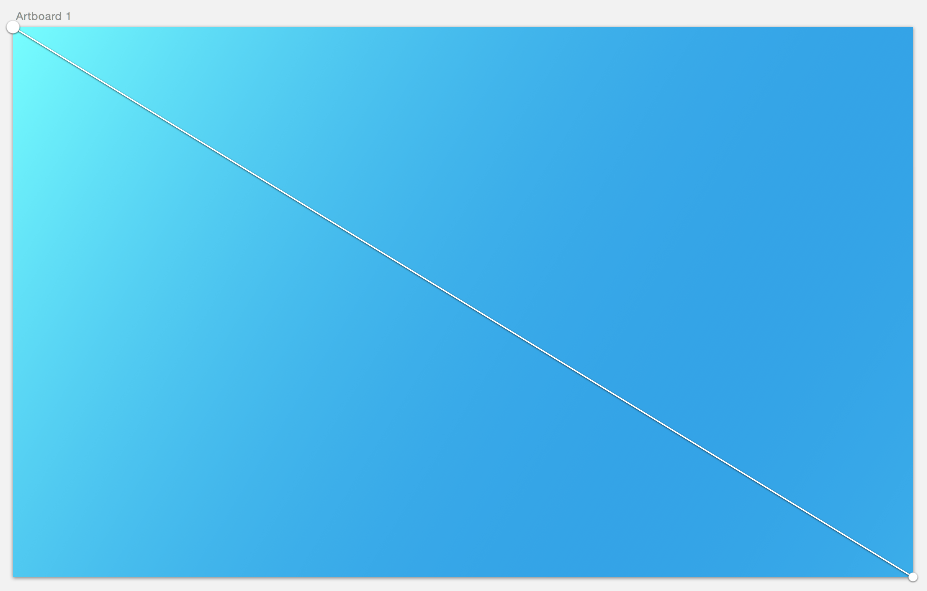
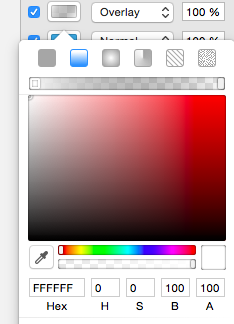
Select the top left colour, enter the value #FFFFFF (white).
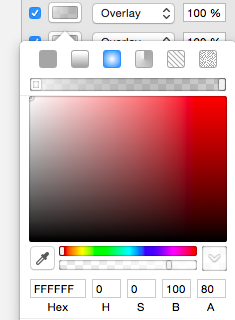
Select the bottom right colour, enter the value #000000 (black) and set the opacity to 0. Set the fill blending mode to overlay.
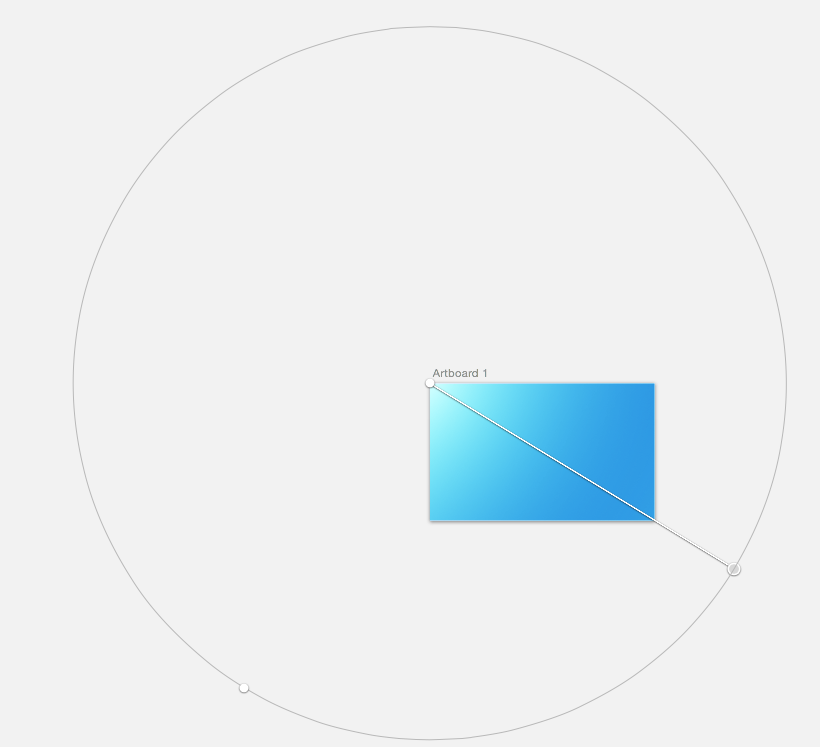
To finish our sky effect, we are going to create a new fill. Click on the “+” icon on the fill panel. This time, select the radial gradient and draw your gradient from the top left corner to outside the bottom right corner of your artboard.

3 – Add the base of the icon
We’re going to use the built-in iOS icon template.
Click File > New From Template > iOS App Icon
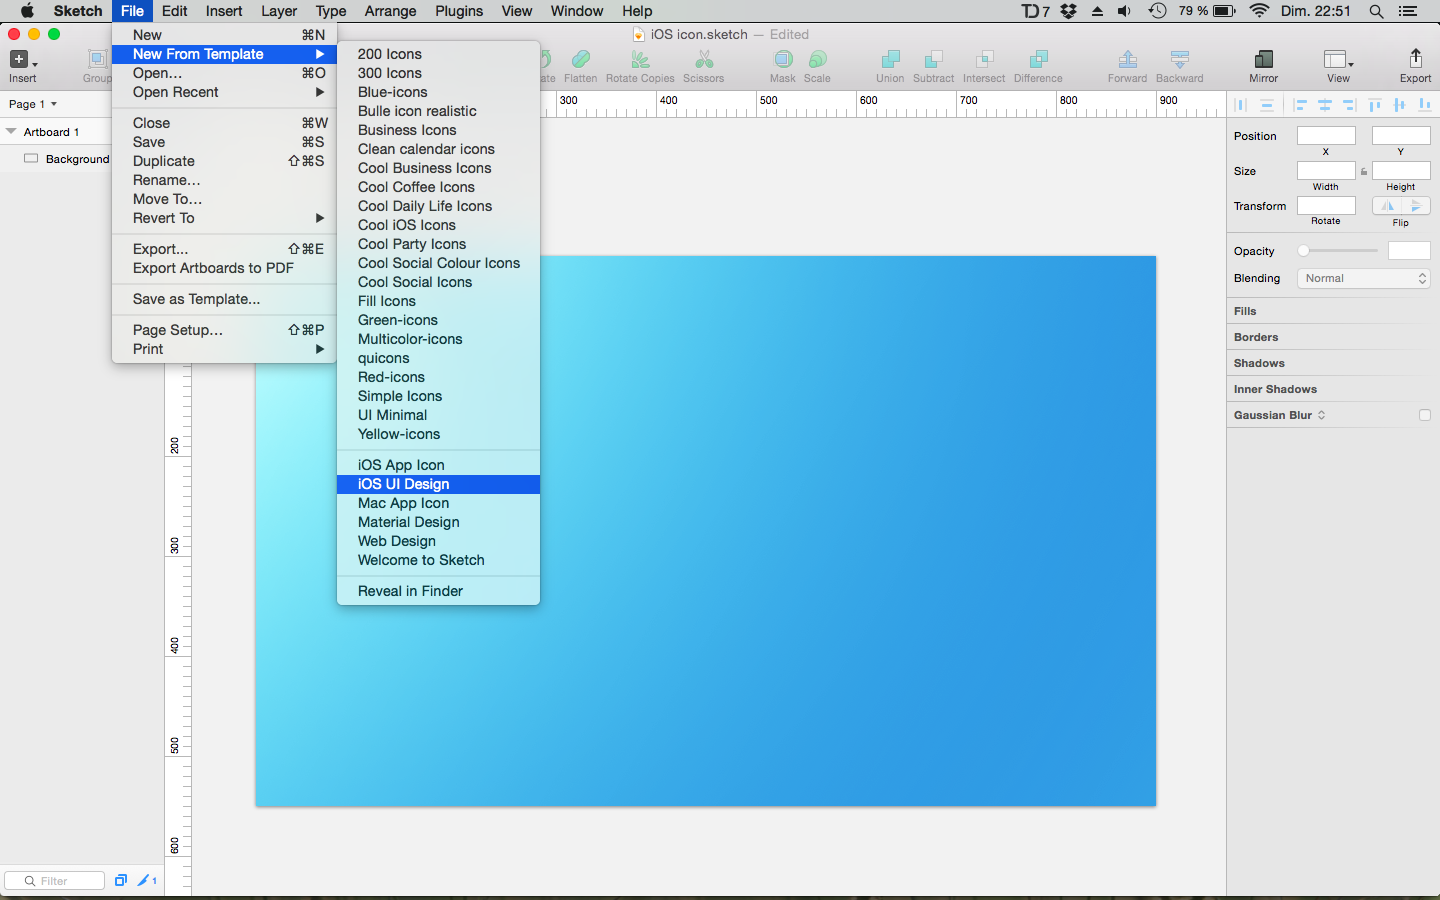
In the left panel unlock the “Icon Shape” layer in the “Icon-60@3x” artboard. Once this layer is selected copy it (cmd+c) and paste it on your original file. Close the template
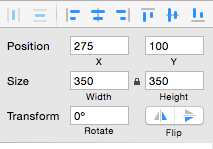
Set the size of the icon shape to 350x350px.
On the left panel, select the 2 layers. To center the icon shape, on the to right panel click on “Align Horizontally” and “Align Vertically”.
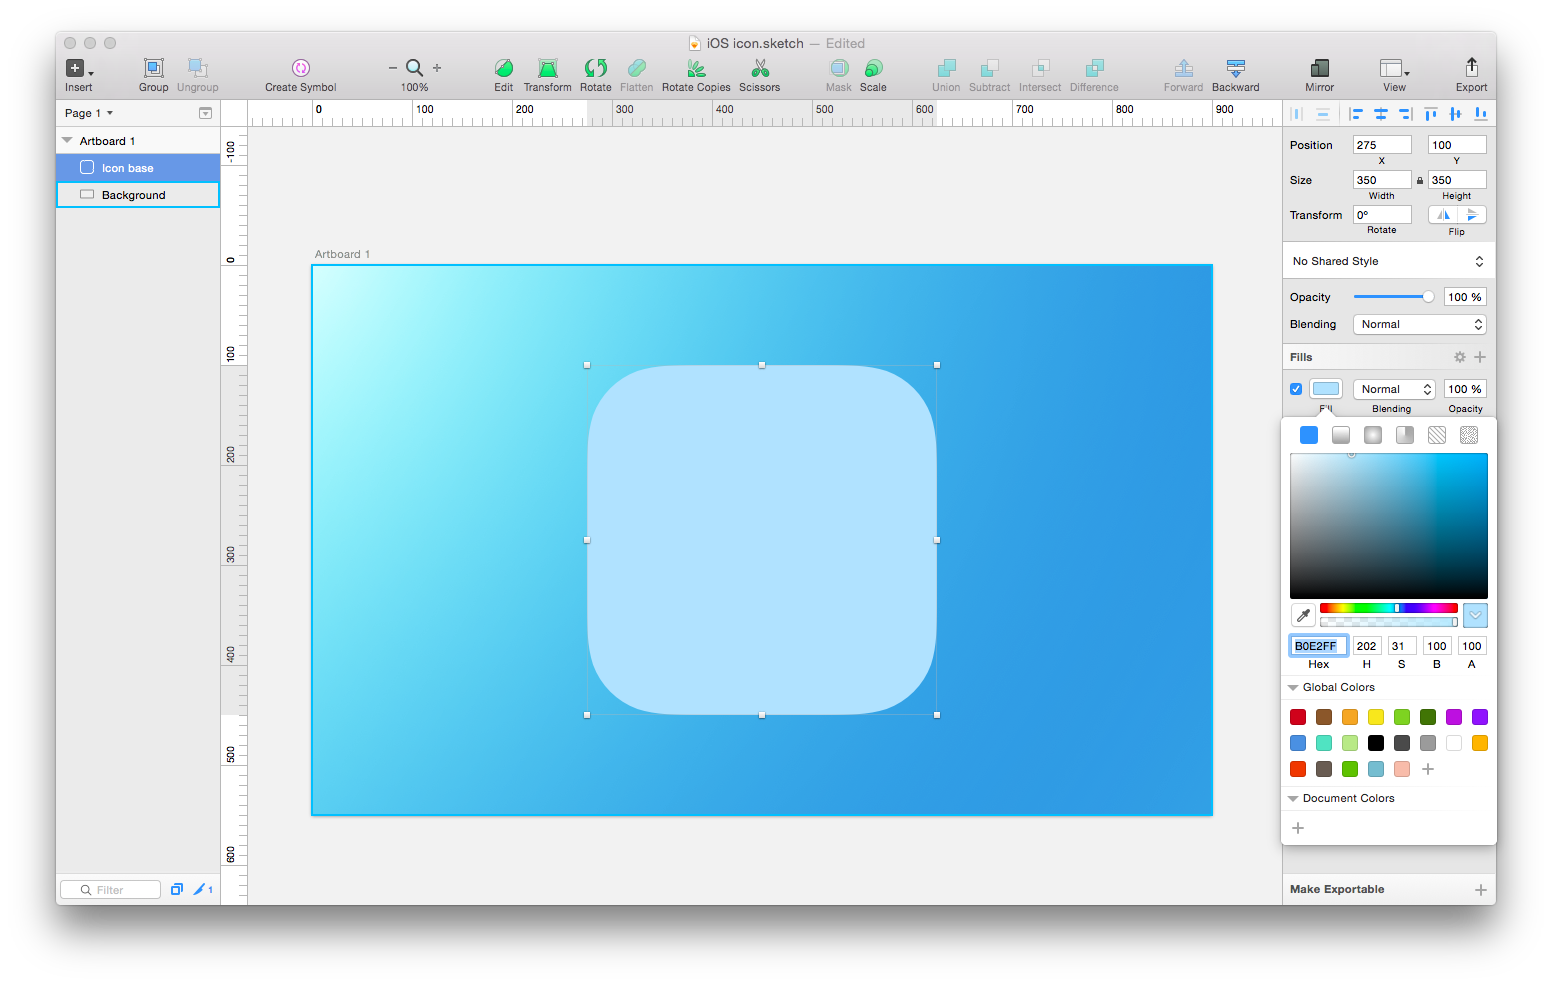
Apply a light blue fill, set the colour to #B0E2FF
4 – Create the chat icon
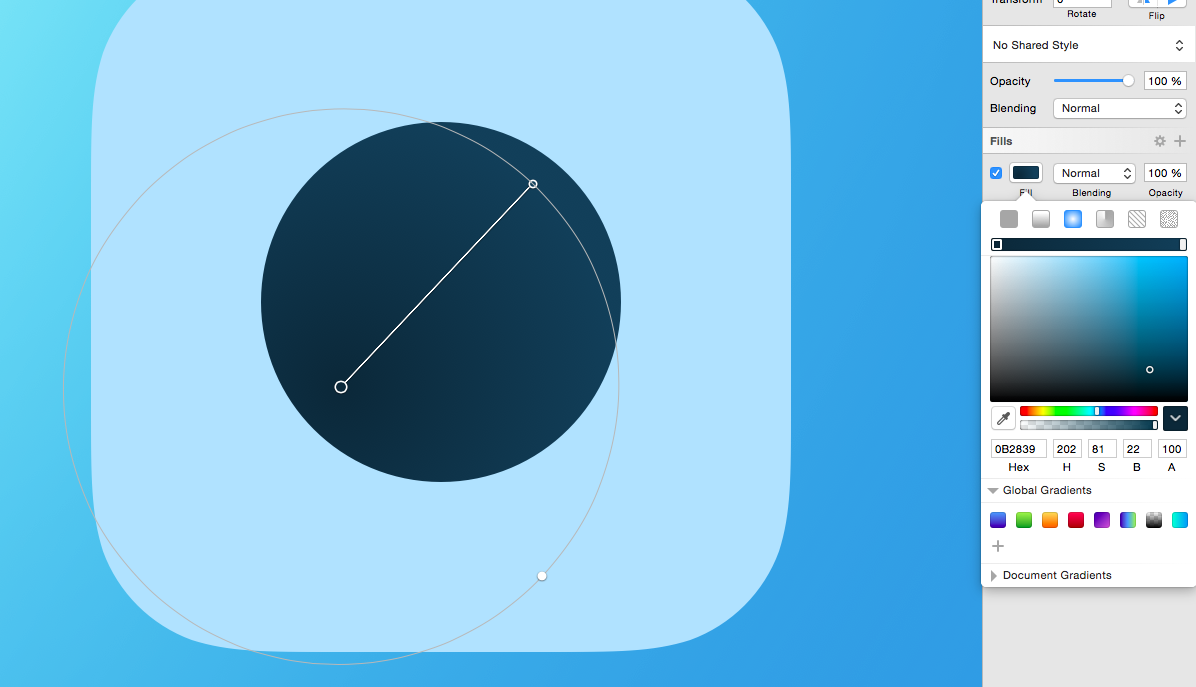
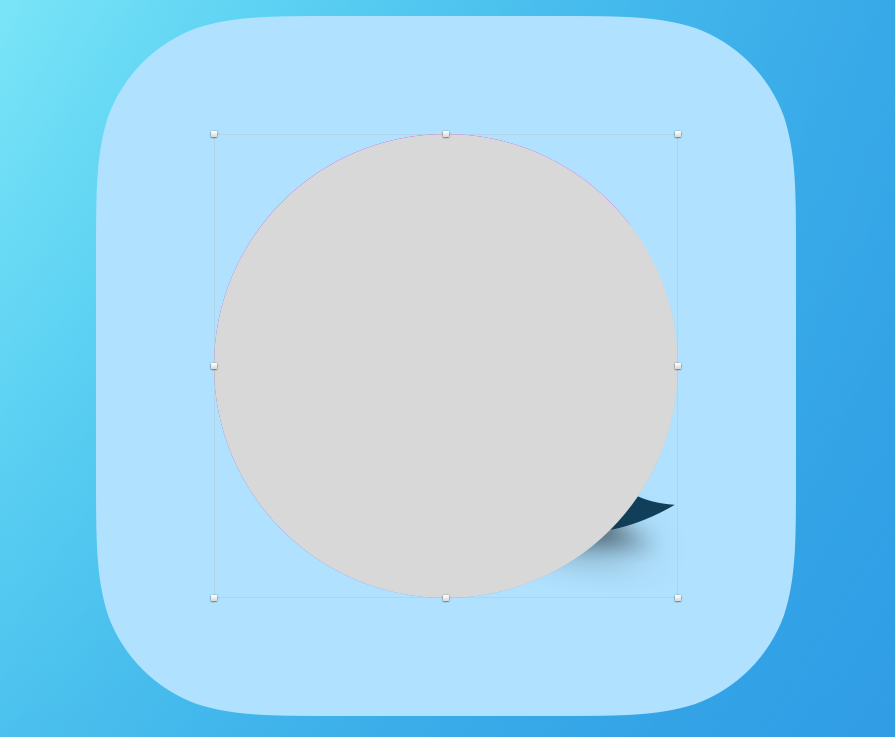
We are going to draw the icon shape. Use the Oval tool, press O draw a circle. While dragging press Shift to make a perfect circle.
Set the size to 180×180px.
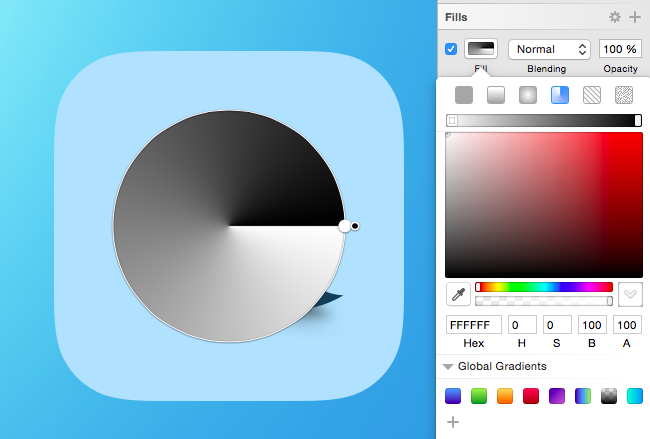
Apply a radial gradient as shown in the picture. Set the bottom left colour to #0B2839 and the top right colour to #113F5A
Using the vector tool V draw a simple triangle. Uncheck the border and check the fill.
Then hit Enter to edit the triangle shape. Select the dot that is the most on the right.
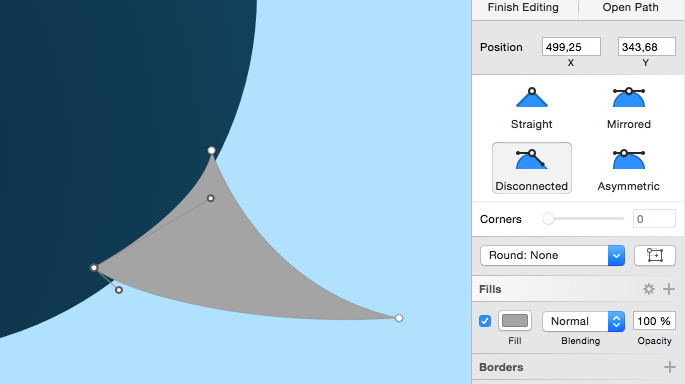
Select Disconnected curve and position the 2 handles as shown in the picture.
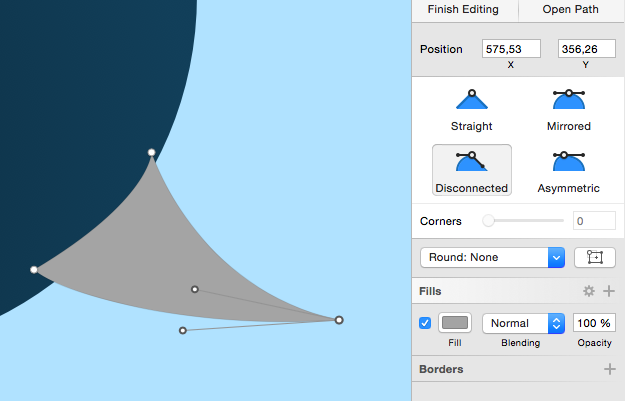
Repeat the same step with the dot that is on the left.
Keep the one at the top as a Straight curve.
You can hit Finish Editing.
5 – Add some depth with a cool bending effect
Duplicate the triangle shape and leave the one at the bottom for now.
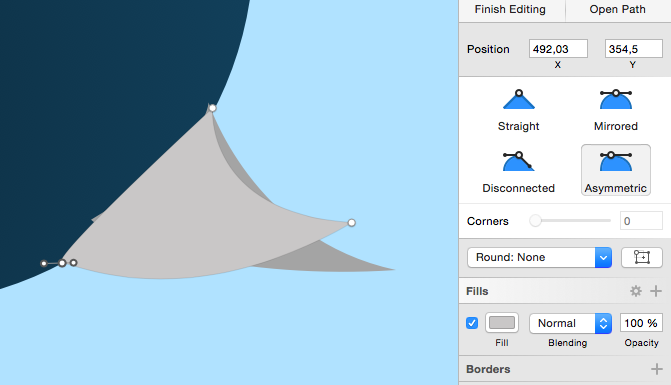
Hit Enter to edit the shape, drag the right dot up and to the left as shown in the picture. Adjust the handles if necessary.
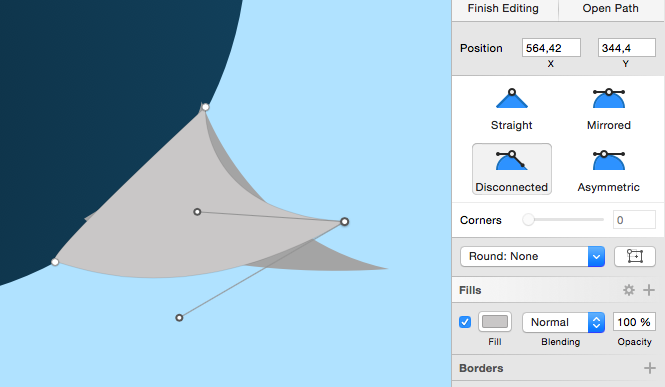
Select the left dot, set shape curve to Asymetric and adjust the handles
If not already done, move this triangle shape on top on the circle.
Select these 2 layers (triangle+circle) and hit Union on the top toolbar.
Rename this new shape “Chat Icon” and the triangle path “Shadow”.
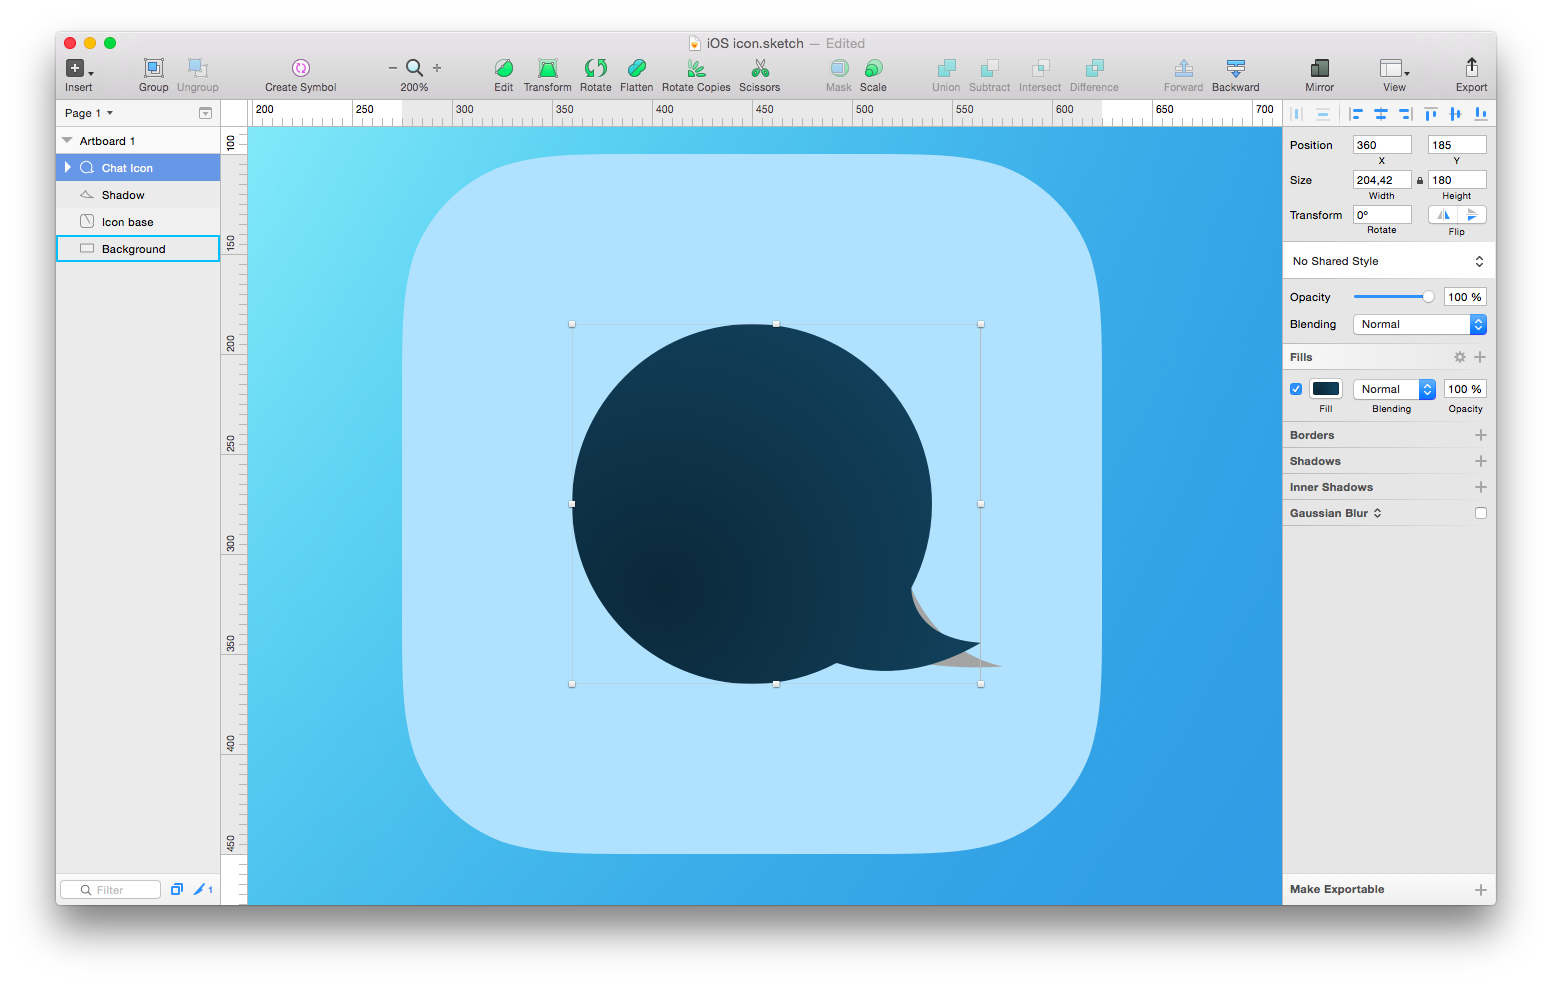
This is where magic happens.
Uncheck the fill. Let’s add some shadows.
Click the “+” icon add a black shadow #000000 and. Set the opacity to 50. Set X: -19 Y: 10 Blur: 24.
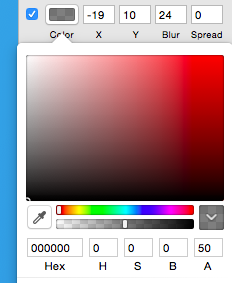
Add another black shadow. Click the “+” icon set colour to #000000 and. Set the opacity to 38. Set X: -19 Y: 8 Blur: 10.

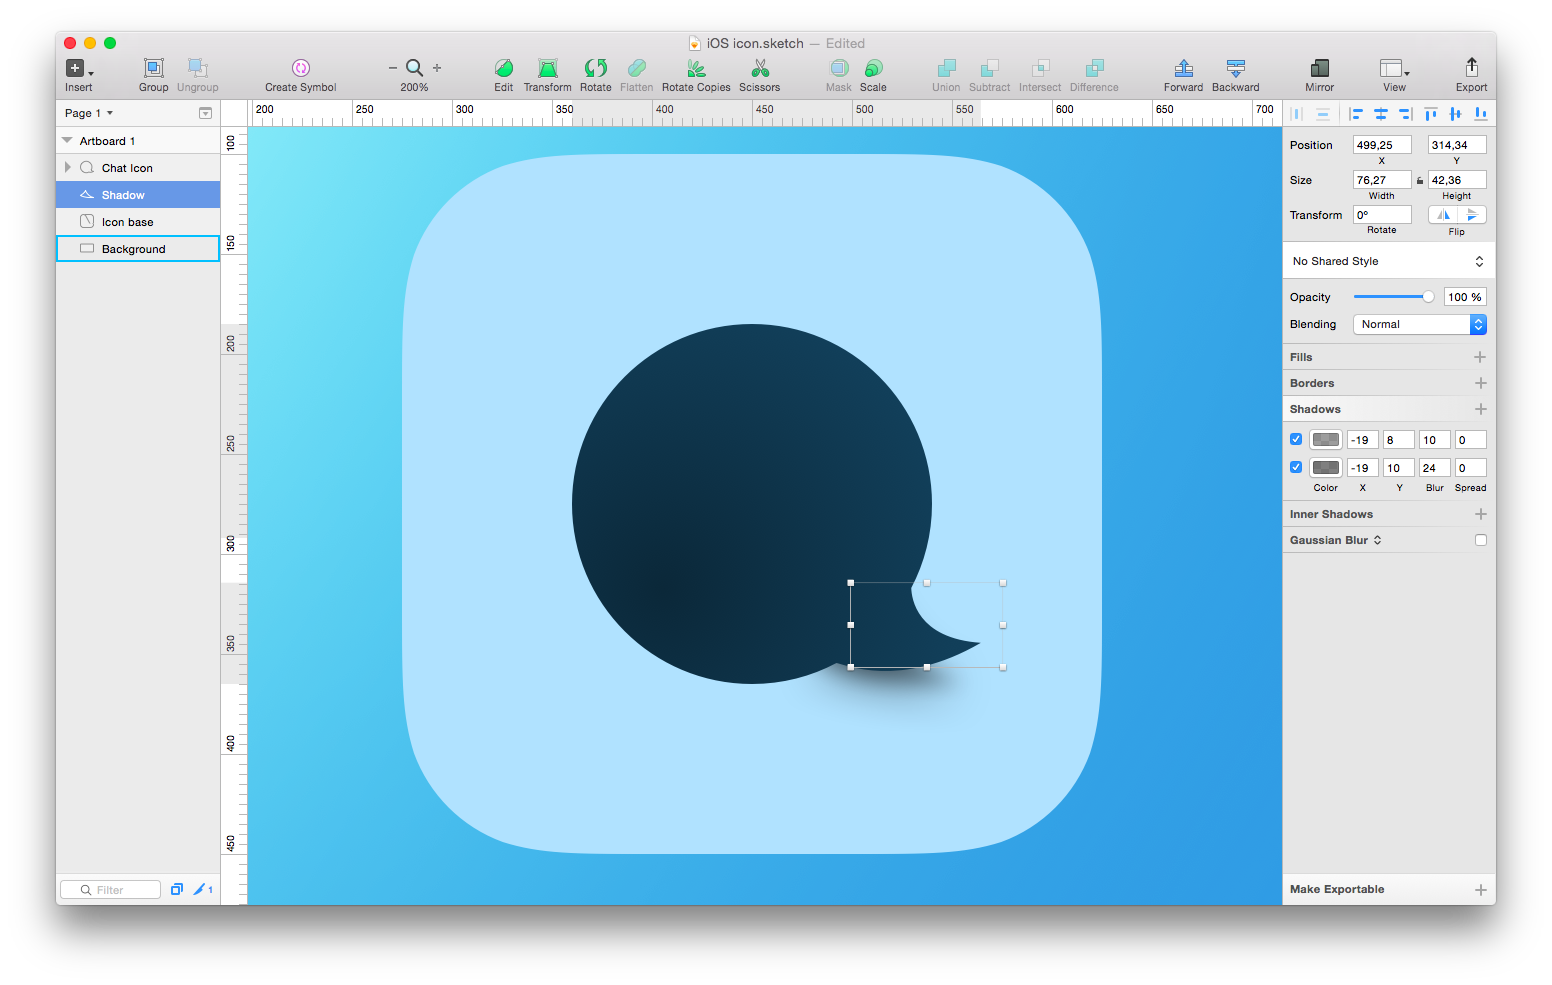
This is the result
6 – Design the microphone
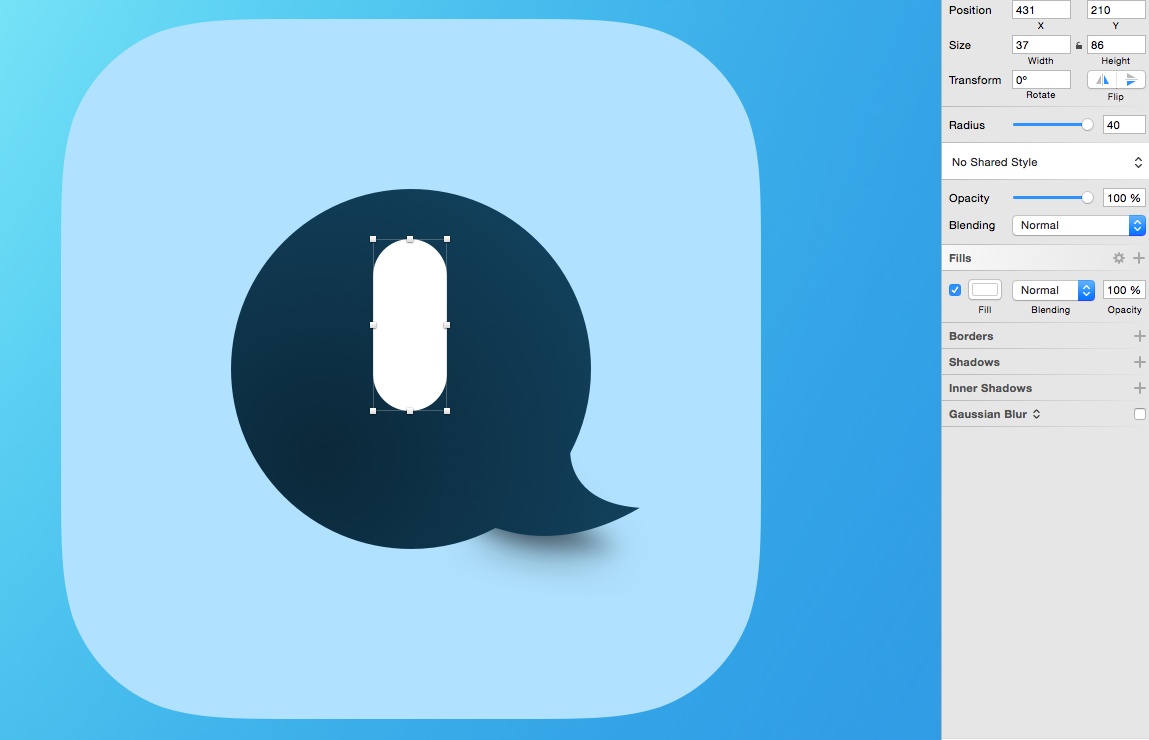
Press R and draw white a rectangle of 37x82px. Set the fill to #FFFFFF and the radius to 40
Duplicate the rectangle, set the size to 53x78px, uncheck the fill, check the border, set the colour to #FFFFFF and set the thickness to 4

We are going to cut the to half of the border. Go to Layer > Paths > Scissors and cut the 2 top quarters of the shape.

Hit R, draw a white rectangle of 24x4px set the fill to #FFFFFF. Duplicate this rectangle, set the size to 31x4px and rotate it to 90°.
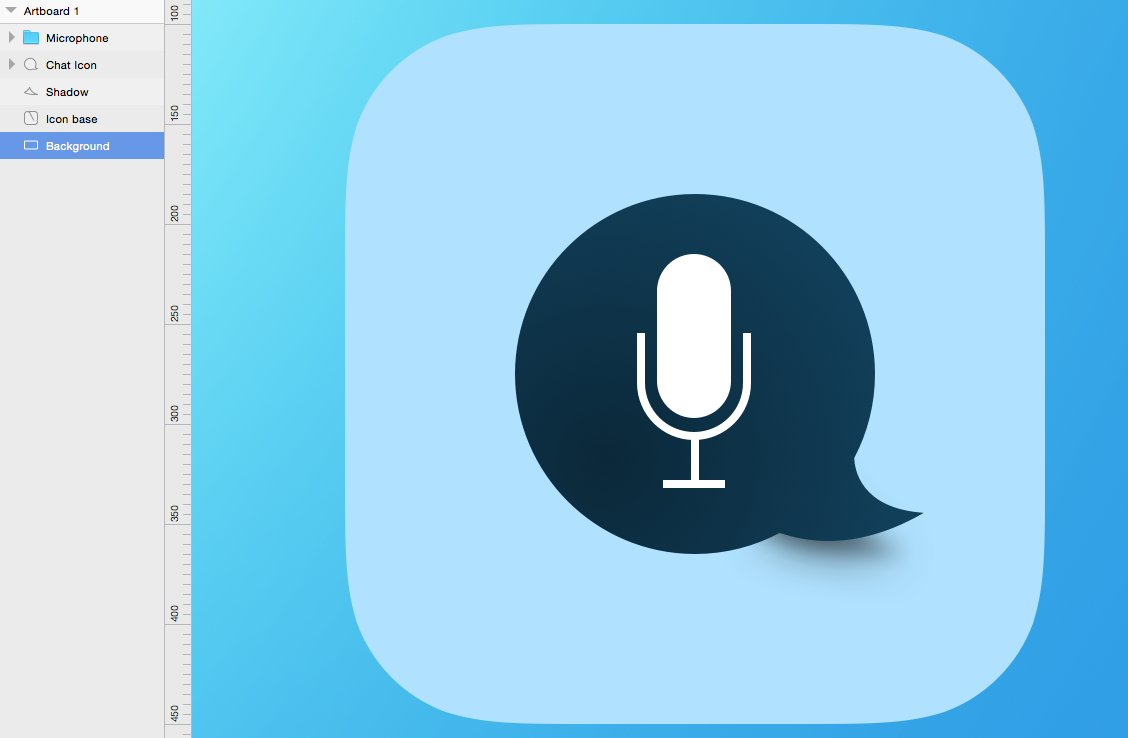
Place them as shown in the picture. Select all the microphone layers, group them (Cmd+G) and rename the group “Microphone”
7 – Create a colorful glowing effect
Hit O, draw a circle while pressing Shift. Set the size to 232x232px and center it within the Icon Base.
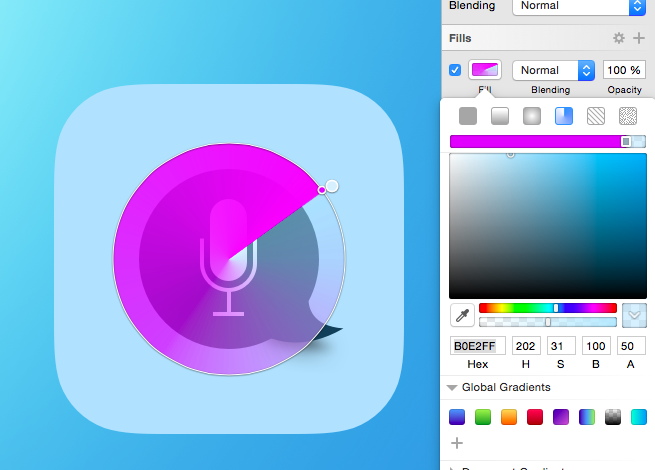
Select an Angular Gradient fill
Move the white dot to the upper right edge. Set the colour to #E100FF.
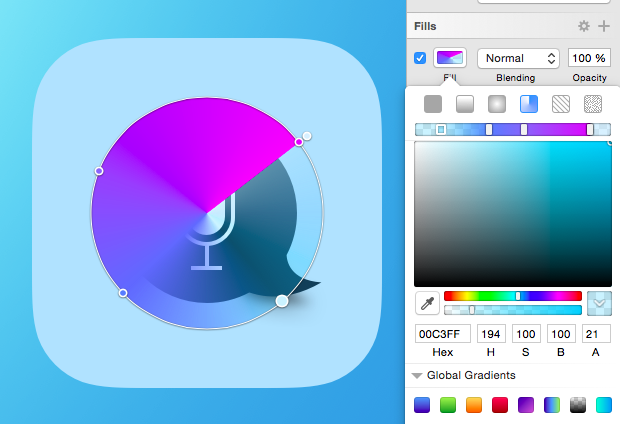
Move the black dot along to the upper right edge as shown in the picture. Set the colour to #B0E2FF and the opacity to 50.
Add 3 more steps (colours) to the gradient. Spread out over the circle as shown below.
Set the first colour to #00C3FF and the opacity to 21.
Set the second colour to #577CFF, keep the opacity at 100.
Set the third colour to #8964FC, keep the opacity at 100.
Move this circular gradient (layer) below the Chat icon and the Shadow layers.
This is what it’s looks like. It is pretty nice but it misses some depth. Let’s tackle this!
8 – Add a shining glow
Create a white #FFFFFF circle, set the size to 46x46px.

Add a Gaussian Blur of 20px.

Create another white #FFFFFF circle on top of the first one. Set its size to 114x114px.
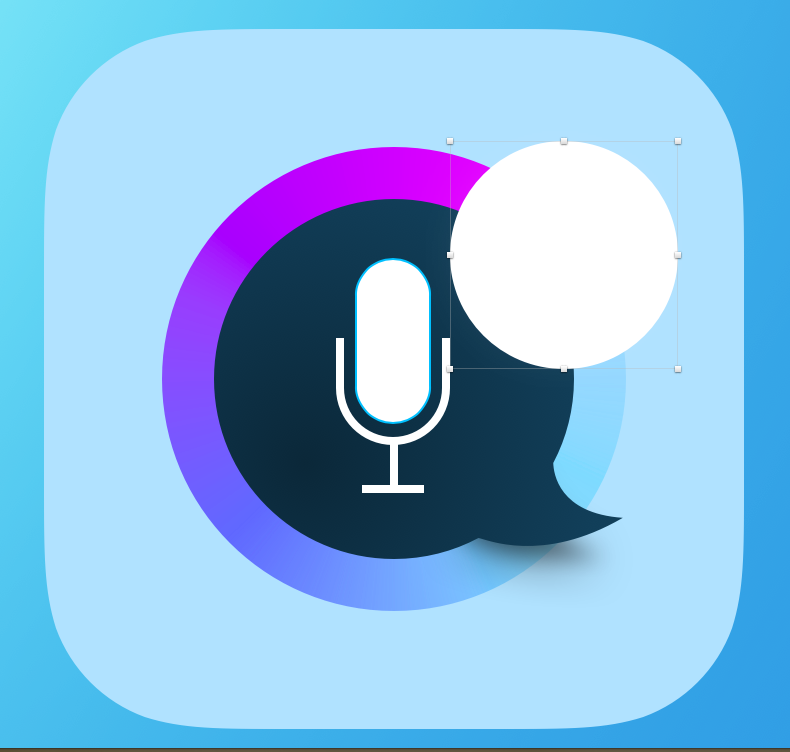
Again add a Gaussian Blur of 24px.
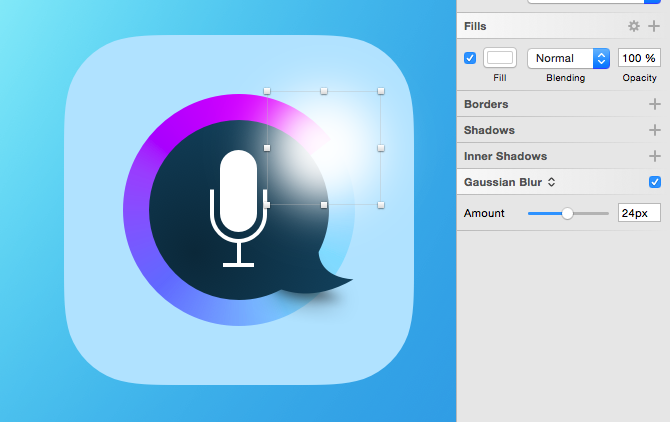
You get a delicate progressive glow that catches the eye.
9 – Add a colourful circular reflection
Duplicate the circular gradient and set its size to 268x268px. Set its opacity to 40%.
Move to the center of the icon base and position it below the circular gradient. Rename it “Circular Glow”.
Now let’s add a Gaussian Blur of 10px to finish up our subtle reflection.

10 – Add a bevel on the icon base
In order to add more depth to our icon, we are going to a light shadow and a dark shadow.
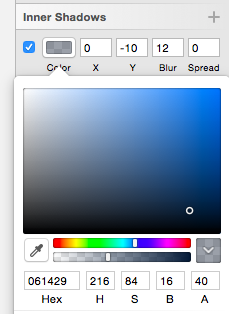
Let’s add a dark blue #061429 inner shadow. Set its opacity to 40.
Then set X:0, Y:-10, Blur: 12
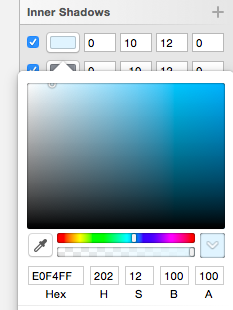
Add a light blue #E0F4FF inner shadow. Keep its opacity to 100.
Finally set X:0, Y:10, Blur: 12
That’s the result.

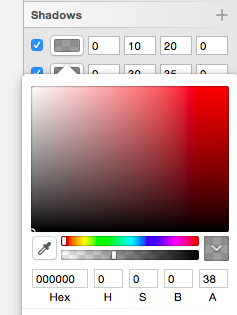
11 – Final touch with shadows
Let’s polish it a bit by adding some shadows.
Add a black #000000 shadow of 40 opacity.
Set X:0, Y:30, Blur: 32.

To make it more realistic, add another black #000000 shadow of 38 opacity.
Set X:0, Y:10, Blur: 20.
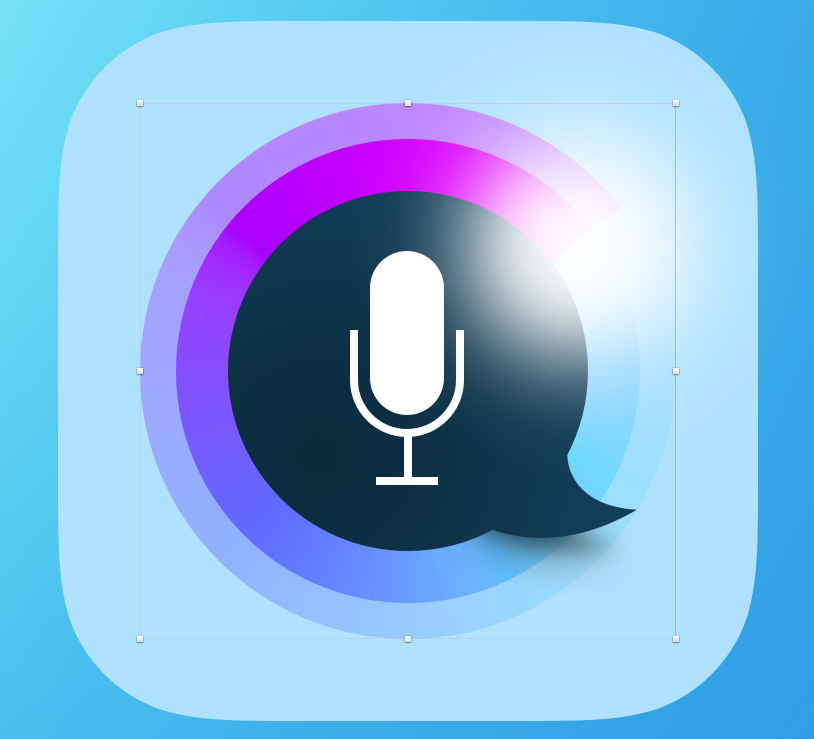
This is our final result, we have created an elegant colorful iOS icon.
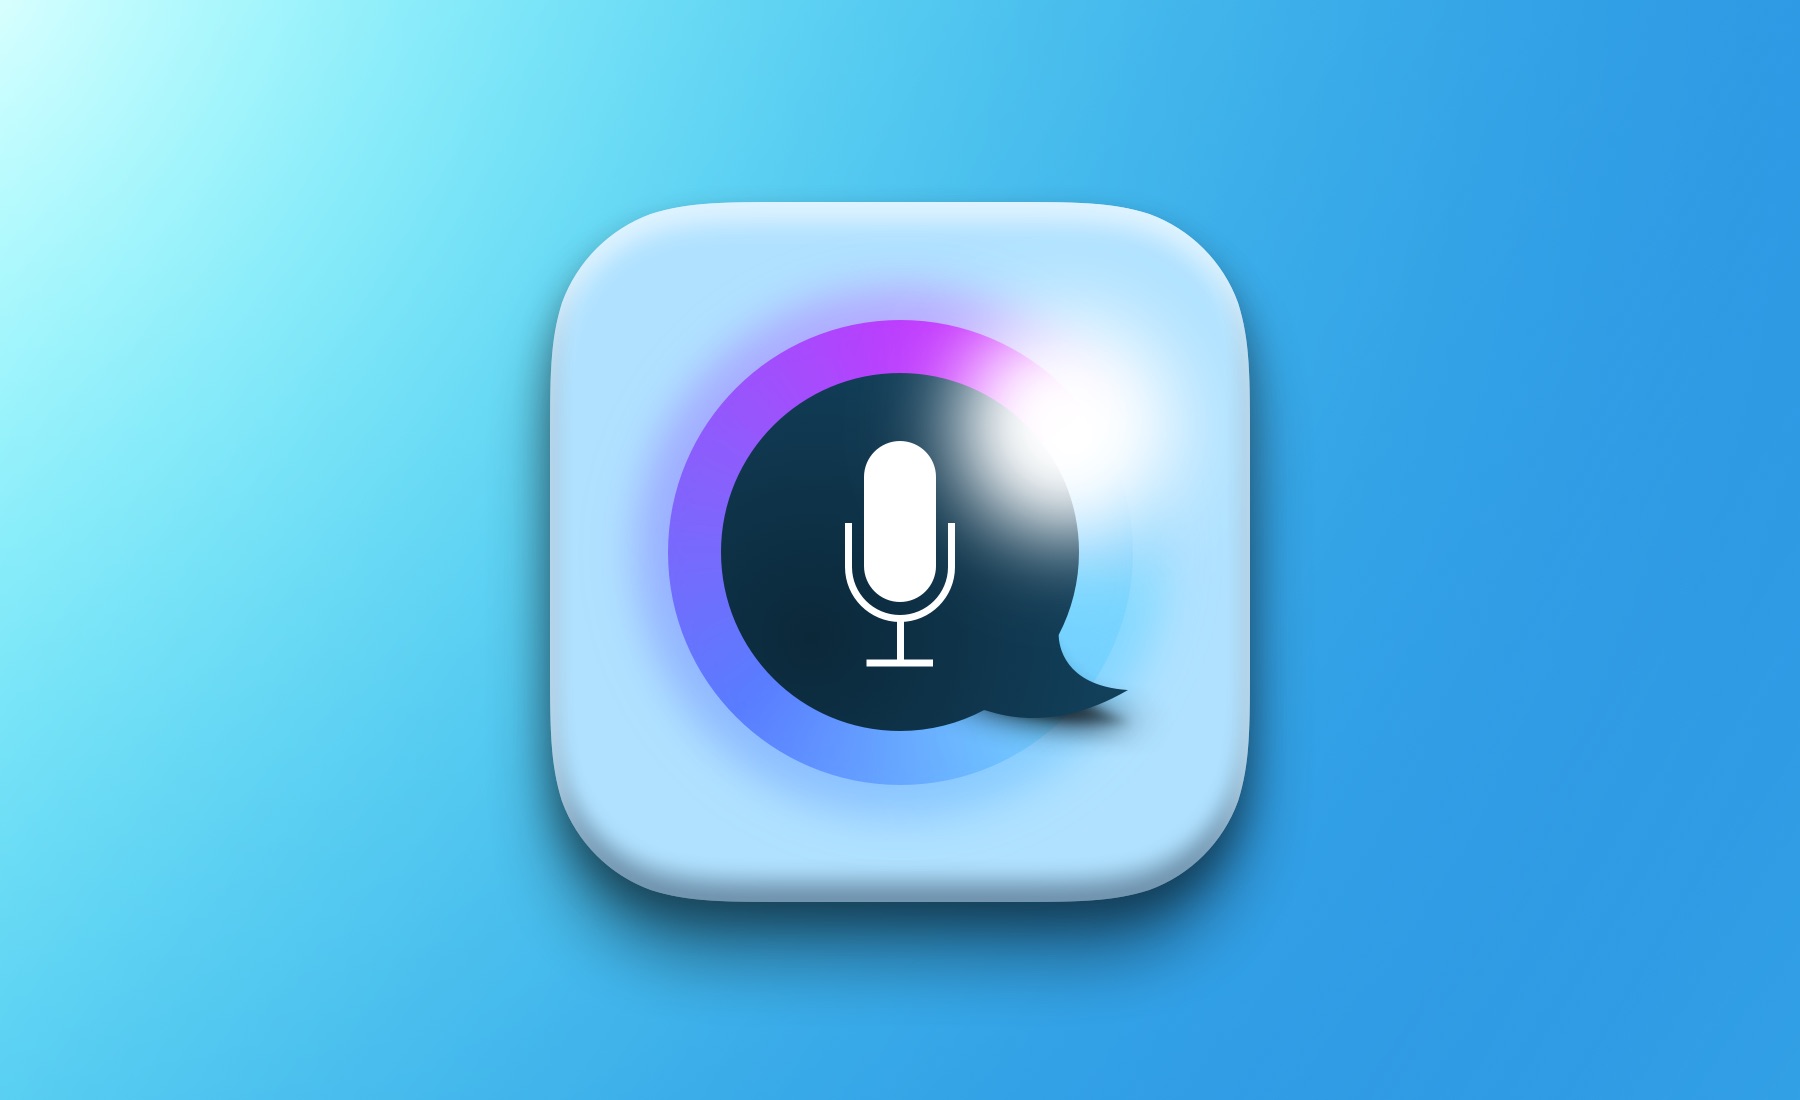
I hope you found this tutorial useful.
You can download the project here.
If you have any questions please comment, I am happy to receive feedback.
And again, I would be happy to see what you end up doing with your new knowledge. Don’t hesitate to send me the links in the comment section of the designs you created based on this tutorial. The goal for me is to give you the tools and help you get inspired so you can create your own custom designs.
Please share and get feedback. I will publish a bestof here!
Read Next

Sketch Tutorial - How to create a Currency Exchange UI
tutorial Introduction Level: Advanced Design time: 30 min The purpose of this Sketch tutorial is to introduce you to the […]
Read More ›Sketch Tutorial - How to Design a 3D diamond icon in 10 min
tutorial Introduction Level: Advanced Design time: 30 min The purpose of this Sketch tutorial is to introduce you to the […]
Read More ›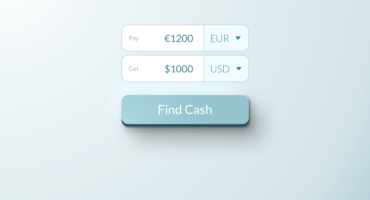
Such a beautiful sexy icon, and a detailed tutorial. Can’t wait to try it out!
Hi, great tutorial! But why do you set the opacity of the first gradient overlay (white to black) to 0?
Thanks,
Jim